How to Knit a Double Gusset Heel: A Step-by-Step Tutorial for Stronger, Better-Fitting Socks
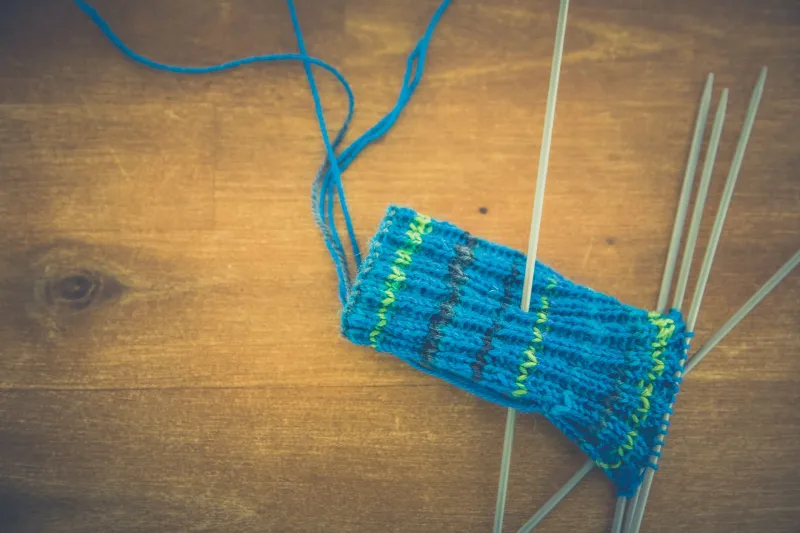
Okay, sock knitters — this one's for you. If you've been knitting socks for any length of time, you've probably noticed that the heel is where everything tends to fall apart. Literally. It's the highest-stress part of the sock, and a standard heel flap can only take so much before it starts thinning out and eventually giving up on you.
Enter the double gusset heel. This is one of those techniques that sounds way more intimidating than it actually is, and once you try it, you'll wonder why you ever knit socks any other way. The double gusset adds extra stitches on both sides of the heel flap, which means more fabric, more cushion, and a much better fit around the ankle. It's basically the upgrade your sock knitting has been waiting for.
I've been obsessed with this technique for a while now, and I wanted to put together a clear, beginner-friendly tutorial so you can give it a shot on your next pair. Let's get into it.
What You'll Need
Before we dive in, here's a quick rundown of what you'll need for this tutorial:
- Sock yarn (fingering weight is standard — something with a little nylon content holds up great for heels)
- US size 1 or 2 double-pointed needles (DPNs) or a long circular for magic loop
- A tapestry needle for finishing
- Basic familiarity with knitting in the round and a standard heel flap — this tutorial assumes you've knit a sock before
This tutorial covers the heel section only, so you'll work the cuff and leg of your sock as usual before picking up here.
What Makes a Double Gusset Different?
In a standard gusset heel, you pick up stitches along one edge of the heel flap on each side — usually around 12–15 stitches per side, depending on your row count. That gives you a single set of gusset stitches to decrease back down.
With a double gusset, you're picking up stitches along two rows of the heel flap edge, effectively doubling the gusset depth. This creates a deeper, more rounded heel pocket that wraps around the back of your foot more generously. It's especially great if you have a high instep or just love a sock that feels really snug and secure.
Step 1: Knit Your Heel Flap
Work your heel flap as you normally would. For a standard 64-stitch sock, you'll have 32 stitches on your heel needle. Here's the classic slip-stitch pattern I like to use for extra durability:
- Row 1 (RS): Sl1 wyib, k1 — repeat across
- Row 2 (WS): Sl1 wyif, purl to end
Repeat these two rows until your heel flap is roughly square — about 30–32 rows for a standard adult sock. The slipped stitches create a nice chain along both edges, which is exactly what you'll be picking up from.
Step 2: Turn the Heel
This part is the same as a standard heel turn, so if you've done it before, you're in good shape.
- Setup Row (RS): K18, ssk, k1, turn
- Row 1 (WS): Sl1, p5, p2tog, p1, turn
- Row 2 (RS): Sl1, knit to 1 stitch before gap, ssk, k1, turn
- Row 3 (WS): Sl1, purl to 1 stitch before gap, p2tog, p1, turn
Continue in this pattern until all heel stitches have been worked. You should have about 18 stitches remaining on your heel needle.
Step 3: Pick Up the Double Gusset Stitches
Here's where the magic happens. Instead of picking up one stitch per slipped-stitch chain, you're going to pick up two rounds of gusset stitches.
First pass: With the right side facing, pick up and knit 1 stitch in each slipped-stitch chain along the right edge of the heel flap. For a 30-row heel flap, that's about 15 stitches.
Second pass: Go back along the same edge and pick up 1 stitch in the bar between each of the stitches you just picked up. This gives you a second row of gusset stitches sitting just inside the first.
Repeat on the left side of the heel flap.
You'll end up with significantly more gusset stitches than usual — and yes, it'll look a little wild for a second. Trust the process.
Step 4: Begin Gusset Decreases
Now you'll work your way back down to your original stitch count, but you're decreasing over more rounds, which is what creates that beautiful, deep heel pocket.
Decrease Round:
- Needle 1 (instep): Knit across
- Needle 2 (sole/gusset left): Knit to last 3 stitches, k2tog, k1
- Needle 3 (sole/gusset right): K1, ssk, knit to end
Plain Round: Knit all stitches
Alternate these two rounds until you've decreased back to your original stitch count. Because you started with more gusset stitches, you'll work more decrease rounds — which means more rows of shaping and a heel that really cups the back of your foot.
Step 5: Continue the Foot
Once you're back to your original stitch count, just keep knitting in the round until the foot reaches your desired length, then work your toe of choice. I'm a big fan of a classic Kitchener-grafted wedge toe, but you do you.
Tips for Getting It Right
- Don't panic about the stitch count. When you first pick up the double gusset stitches, it's going to look like a lot. That's normal. The decreases will bring everything back into proportion.
- Keep your tension even when picking up gusset stitches — picking up too tightly can create puckering along the heel join.
- Lifelines are your friend. If you're trying this for the first time, run a lifeline through your stitches before the heel turn so you have a safe place to rip back to if needed.
- Swatching counts. Seriously — heel fit is all about gauge. If your sock is too loose or too tight in the heel, adjust your needle size accordingly.
Why I Keep Coming Back to This Heel
I'll be honest — when I first heard about the double gusset heel, I thought it sounded like a lot of extra work for not much payoff. I was wrong. The first time I wore a pair with this heel construction, the difference was immediately obvious. The fit was just better — snugger, more supportive, and way more comfortable for long days on my feet.
Plus, there's something really satisfying about knowing you've built extra durability right into the design. These socks last. And for the amount of time and love that goes into hand-knitting a pair of socks, that matters a lot.
If you give this tutorial a try, I'd love to see your finished socks! Drop a comment below or tag me — I'm always here for sock content. Happy knitting! 🐢🧶