Never Lose Your Place Again: How to Make a Pattern Row Counter
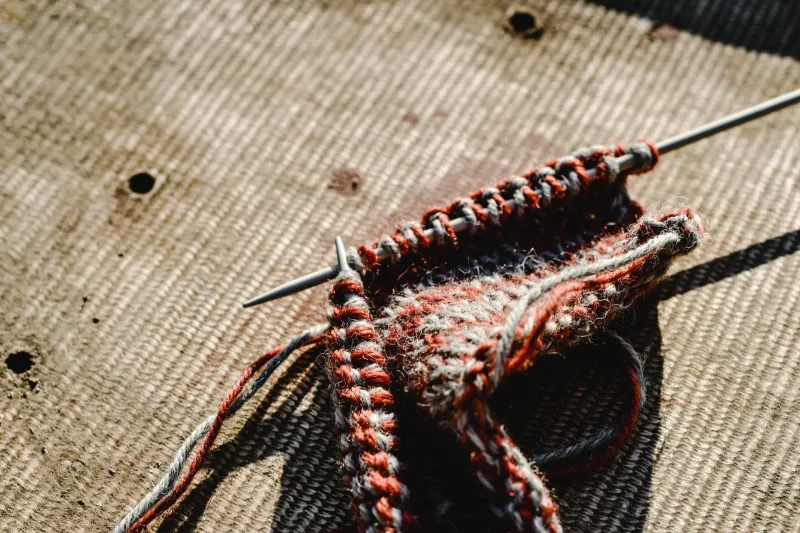
Okay, let's be real. We've all been there. You're knitting along, totally in the zone, maybe half-watching a show in the background, and then — wait. Are you on row 14 or row 16? Did you already do the decrease? Is that the right side or the wrong side?
The next ten minutes are spent squinting at your work, counting stitches, and silently bargaining with the universe. It's the worst.
A pattern row counter won't solve all of life's problems, but it will absolutely solve that one. And the best part? You can make one yourself with stuff you probably already have hanging around your craft space. Let's do this.
What Is a Pattern Row Counter, Exactly?
A row counter is just a tool that helps you track which row or round you're on in a pattern. You can buy little clicker counters that attach to your needles, sure — but a pattern row counter is a bit different. It's a physical, visual aid that lets you track multiple elements at once: which row you're on, which pattern repeat you're in, and sometimes even which stitch variation is coming up next.
Think of it like a cheat sheet that travels with your project. Handmade ones are especially handy for complex patterns with lots of moving parts.
What You'll Need
Here's the good news: this is a super low-cost project. You probably already have most of this stuff.
- A piece of cardstock or heavy paper (an old greeting card works great)
- A ruler and pencil
- A fine-tip permanent marker or pen
- A paper clip or binder clip (this is your actual "counter")
- Optional: a laminator or clear packing tape to make it more durable
- Optional: a hole punch and small ring or yarn tie to keep it with your project
That's it. Seriously.
Step-by-Step: Making Your Row Counter Card
Step 1: Figure Out What You Need to Track
Before you start writing anything down, look at your pattern and figure out what information is most useful to have in front of you. For a simple project, you might just need to track row numbers. For something more complex — like a lace shawl or a colorwork yoke — you might want to track:
- Row number within a repeat
- Which repeat you're on (repeat 1, 2, 3, etc.)
- Any special stitch notes for specific rows
Write down what you need to track. Keep it simple — the goal is clarity, not a whole spreadsheet.
Step 2: Create Your Grid
Using your ruler and pencil, draw a grid on your cardstock. Each row of the grid represents one row of your pattern. You can make the boxes as big or as small as you like — just make sure there's enough room to read the numbers easily.
For a basic row counter, two columns work great:
- Column 1: Row number
- Column 2: Any notes (like "k2tog here" or "RS row")
If you're tracking repeats, add a third column for that.
Step 3: Fill In the Numbers and Notes
Go through your pattern and fill in the row numbers in column one. In the notes column, jot down any important info for that row — things like where decreases happen, when to switch colors, or which rows are right-side vs. wrong-side.
You don't have to write a novel. Even just "dec" or "WS" is enough to jog your memory mid-project.
Step 4: Trace Over in Permanent Marker
Once you're happy with your grid and notes, trace over everything with a fine-tip permanent marker. This makes it easier to read and more durable if your hands are a little damp (because we've all been knitting in the summer heat, let's not pretend otherwise).
Step 5: Laminate or Tape It (Optional but Recommended)
If you have a laminator, run your card through it. If not, covering both sides with strips of clear packing tape works almost as well. This step makes your counter water-resistant and means it'll hold up through the whole project — even if it ends up at the bottom of your project bag under a pile of stitch markers and candy wrappers.
Step 6: Add a Paper Clip
This is the magic part. Slide a paper clip along the edge of your card so that it points to the row you're currently working on. When you finish a row, slide it down to the next one. That's your counter. Simple, tactile, and impossible to accidentally reset.
If you want, you can use a binder clip on the side of the card instead — it's a little sturdier and easier to grip.
Step 7: Attach It to Your Project
Punch a hole in the corner of the card and thread a short loop of yarn through it. Tie the yarn to your project bag, your needle, or even your ball of yarn. Now your counter goes wherever your knitting goes.
Tips for Getting the Most Out of Your Row Counter
Make one per project. I know it feels like extra work, but having a dedicated counter for each active project is a game changer. No more trying to remember which card goes with which shawl.
Keep a pencil nearby. If your pattern has notes you want to update or add as you go, keep a pencil handy so you can mark things up. That's the beauty of making it yourself — it's fully customizable.
Color code if you're a visual person. Use different colored pens or highlighters to mark different types of rows. Pink for decrease rows, blue for plain knit rows, whatever makes sense to your brain.
Make a mini version for travel projects. Scale the card down to wallet size for smaller projects you take on the go. It fits right in your notions pouch.
Why Handmade Is Better Than Digital (At Least Sometimes)
Yes, there are apps for this. Yes, you can use your phone. But here's the thing — every time you pick up your phone to tap a counter, you're one notification away from losing 20 minutes to Instagram. A physical card doesn't do that. It just sits there, quietly doing its job, while you stay in your creative flow.
There's also something really satisfying about making your own tools. It's a small act of creativity that supports bigger creative work. Very on-brand for this whole turtle-paced, intentional approach to making things that I'm always going on about.
So grab some cardstock, dig out a marker, and make yourself a row counter. Your future self — the one who actually knows what row she's on — will thank you.
Happy making, friends. 🐢